Introduction
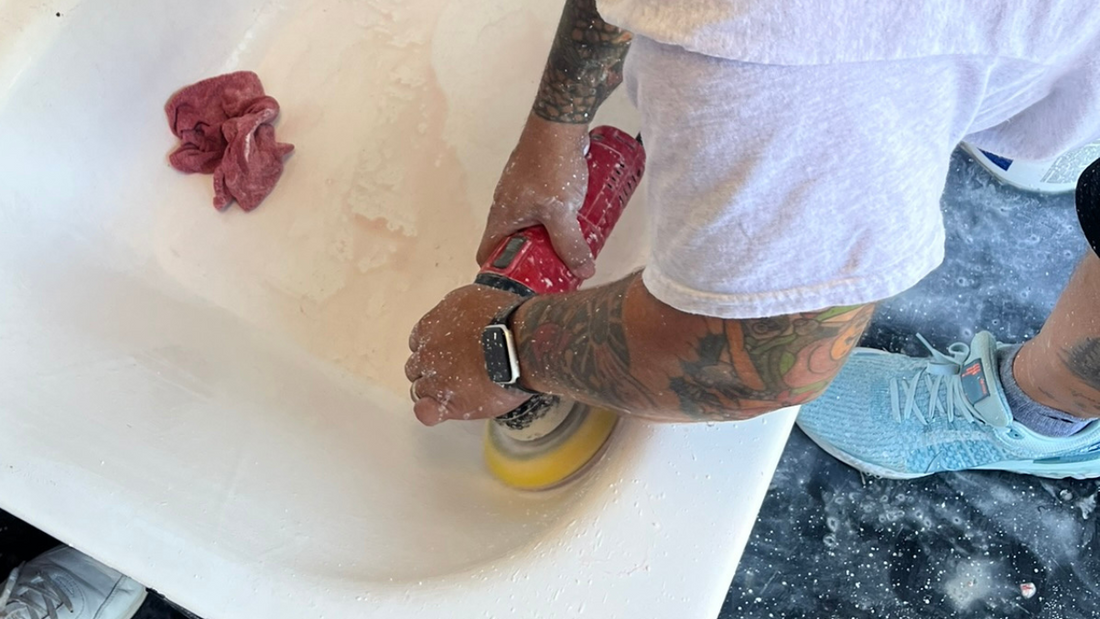
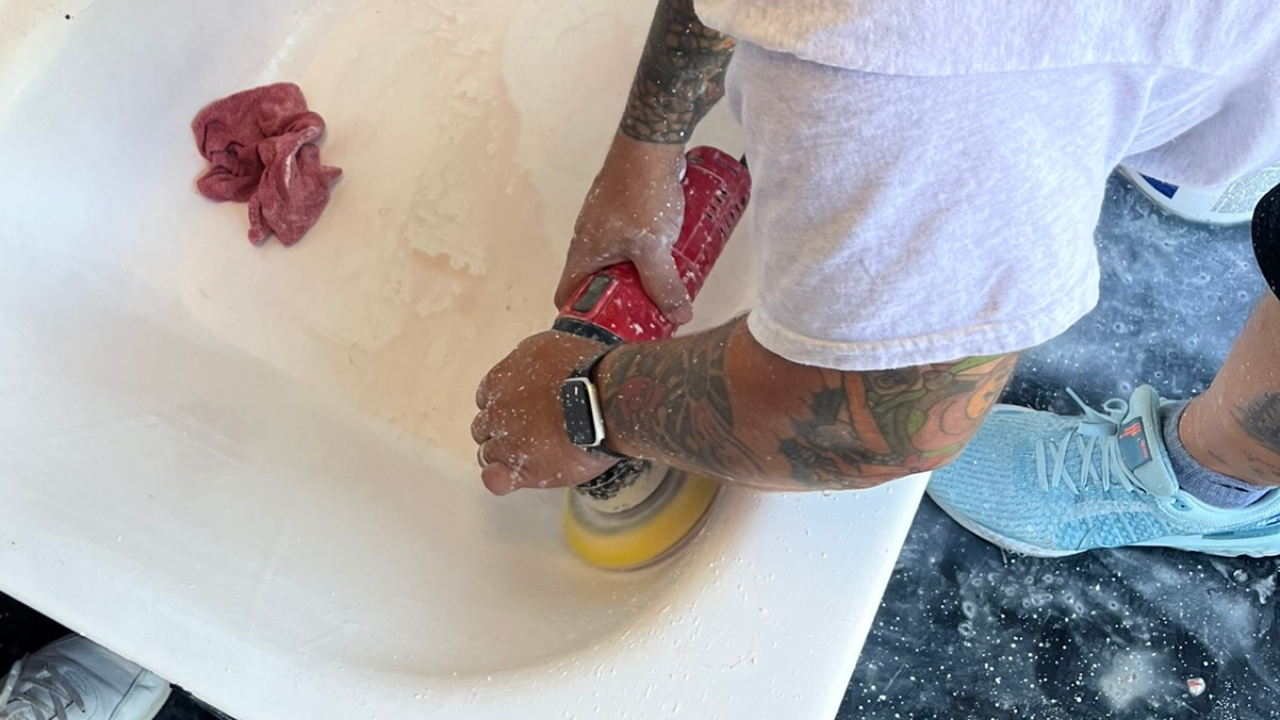
Sanding is a critical step often overlooked in Ekopel applications. Beyond smoothing the surface, sanding removes invisible contaminants, ensuring a flawless finish and strong adhesion. Neglecting this preparatory step, including the removal of substances like soap scum, can compromise the integrity of the coating, leading to unsatisfactory results.
1. Understanding the Importance of Sanding
Sanding is a crucial preparatory step in various home improvement projects, ensuring surfaces are free of contaminants and properly textured for optimal material adhesion. Specifically, when refinishing a bathtub with Ekopel, thorough sanding serves two essential purposes:
- Preparing the Tub Surface: Sanding removes invisible contaminants and smooths out imperfections, creating an ideal foundation for the Ekopel coating. This process ensures that the bathtub surface is clean and uniform, ready to accept the refinishing material without any unwanted textures or blemishes.
- Promoting Adhesion and Preventing Issues: By roughening the surface slightly, sanding enhances adhesion, minimizing the risk of issues like fisheyes or peeling. This step is crucial for achieving a durable finish that withstands daily use and maintains its aesthetic appeal over time.
2. Types of Sandpaper and Grits
Overview of Sandpaper Types & Choosing the Right Grit:
When undertaking a home improvement project like bathtub refinishing with Ekopel, the choice of sandpaper plays a crucial role in achieving a smooth and durable finish. Understanding the different types of sandpaper available can help you select the best option tailored to your specific needs.
Types of Sandpaper
- Aluminum Oxide Sandpaper:
- Characteristics: Known for its durability and versatility, aluminum oxide sandpaper is suitable for a wide range of materials, including wood, metal, and plastics.
- Best Use: Ideal for general sanding tasks, shaping wood, and preparing surfaces for painting or refinishing.
- Grit Range: Available in various grits from coarse to fine, allowing for both material removal and finishing applications.
Choosing the Right Grit
- We often suggest starting with 220-320 grit as a baseline to assess the surface and determine initial results. However, don't hesitate to experiment with coarser or finer grits depending on what you are working with.
3. Sanding Techniques for Epoxy Tub Refinishing
When preparing surfaces for refinishing projects like bathtub refinishing with Ekopel, choosing between dry and wet sanding methods can significantly impact the outcome. Each method offers unique benefits and requires specific techniques to achieve optimal results.
Dry Sanding:
Benefits:
- Efficiency: Dry sanding is generally faster than wet sanding because it doesn't involve water, making it ideal for initial rough sanding and material removal.
- Versatility: Dry sanding is suitable for a wide range of materials and surfaces, allowing for precise shaping and aggressive material removal when needed.
Technique:
- Surface Preparation: Ensure the surface is clean and free of debris before starting dry sanding.
- Sandpaper Selection: Choose the appropriate grit based on the level of smoothing or material removal required. Coarse grits (e.g., 80 to 120) are used for initial rough sanding, while finer grits (e.g., 220 to 400) are used for smoothing and finishing.
- Application: Use light to moderate pressure with even strokes, moving the sandpaper in a consistent direction to avoid creating uneven surfaces. Check the progress periodically to ensure uniformity.
Wet Sanding:
Benefits:
- Smooth Finish: Wet sanding with water or a lubricant (such as soapy water) results in a smoother surface compared to dry sanding, reducing the risk of scratches and providing a polished appearance.
- Contaminant Removal: Water helps to wash away debris and contaminants from the sandpaper and the surface being sanded, preventing clogging and maintaining effective abrasion.
Technique:
- Preparation: Submerge the sandpaper in water for a few minutes before use to soften it and prevent premature clogging.
- Surface Preparation: Wet the surface lightly with water or a lubricant to create a thin film that enhances abrasion and reduces friction.
- Sandpaper Selection: Use fine-grit sandpaper (e.g., 400 to 1200) for wet sanding to achieve a smooth, polished finish without leaving visible scratches.
- Application: Work in circular or back-and-forth motions with light pressure, keeping the surface and sandpaper wet throughout the process. Rinse the surface and sandpaper frequently to remove debris and prevent buildup.
Choosing the Right Method:
- Initial Sanding: Start with dry sanding for initial shaping and material removal, especially if the surface requires significant leveling or smoothing.
- Final Finishing: Use wet sanding to achieve a refined, polished surface before applying coatings like Ekopel. Wet sanding is particularly effective for achieving a mirror-like finish and preparing surfaces for seamless adhesion.
For optimal results, combine both wet and dry sanding techniques. Start with dry sanding to quickly remove any major imperfections and rough up the surface. Then, switch to wet sanding for a smoother finish and to minimize dust. This dual approach ensures a perfectly prepared surface for your Ekopel application, resulting in a flawless and durable finish. Understanding the benefits and techniques of both dry and wet sanding methods allows you to choose the most appropriate approach for your bathtub refinishing project with Ekopel. Whether you need to remove imperfections, smooth surfaces, or achieve a flawless finish, selecting the right sanding method will ensure professional-quality results and long-lasting durability.
Orbital vs. Hand Sanding:
When preparing surfaces for refinishing projects like bathtub refinishing with Ekopel, choosing between an orbital sander and hand sanding can significantly impact the efficiency and quality of your work. Each method has its own advantages and requires specific techniques to achieve optimal results.
Orbital Sanders
Advantages:
- Efficiency: Orbital sanders significantly reduce the time and effort required for sanding large areas. They provide consistent, even sanding with minimal user fatigue.
- Uniform Finish: These sanders produce a uniform finish due to their random orbital motion, which helps prevent swirl marks and other imperfections.
- Versatility: Orbital sanders can handle a wide range of grits, making them suitable for both coarse material removal and fine finishing.
- Dust Collection: Many orbital sanders come equipped with dust collection systems, helping to keep the work area cleaner and reduce airborne dust.
Proper Techniques:
- Sandpaper Selection: Choose the appropriate grit based on the sanding stage. Start with a coarser grit for initial sanding (e.g., 80-120) and progress to finer grits (e.g., 220-320) for finishing.
- Tool Handling: Hold the sander firmly but not too tightly, allowing the tool’s weight to do the work. Keep the sander flat and move it in overlapping strokes to ensure even coverage.
- Movement: Move the sander in a slow, steady motion, overlapping each pass to avoid missed spots. Avoid pressing down too hard, as this can create uneven surfaces or damage the material.
- Dust Management: Connect the sander to a vacuum or use the built-in dust collection bag to minimize dust. Regularly clean the sandpaper to maintain its effectiveness.
- Precision: Hand sanding offers greater control and precision, making it ideal for intricate details, edges, and hard-to-reach areas where orbital sanders may not be effective.
- Surface Feel: By hand sanding, you can feel the surface directly, allowing you to detect and smooth out any imperfections that might be missed with an orbital sander.
- Cost-Effective: Hand sanding requires minimal equipment, making it a cost-effective option for small projects or detailed work.
Proper Techniques:
- Sandpaper Selection: Use a sanding block or wrap the sandpaper around a flat, firm surface to maintain even pressure. Select the appropriate grit for the task, starting with coarser grits and moving to finer ones.
- Sanding Motion: Sand in the direction of the grain or along the contours of the surface to avoid creating scratches or uneven marks. Use consistent pressure and smooth, even strokes.
- Pressure: Apply even, moderate pressure. Too much pressure can cause deep scratches, while too little can result in ineffective sanding.
- Checking Progress: Regularly feel the surface and visually inspect your progress to ensure an even finish. Sand until the surface is smooth and free of imperfections.
Combination Approach: For the best results, combine both methods. Start with an orbital sander for initial sanding and large areas, then switch to hand sanding for detailed work and final finishing.
4. Common Sanding Mistakes to Avoid
Ignoring surface imperfections during sanding can have significant repercussions on the outcome of your refinishing project. One of the most critical issues that arise from neglecting imperfections is poor adhesion of the coating, such as Ekopel. Imperfections like scratches, rough patches, or remnants of old coatings can prevent the new coating from adhering uniformly to the surface. While it's not always necessary to completely remove the previous coating, it's important to address any areas where it may peel up or hinder adhesion. Sanding these spots ensures a smoother surface that promotes better bonding of the new coating. Neglecting this step can result in areas where the coating doesn't bond properly, potentially leading to peeling or an uneven finish over time.
Additionally, surface imperfections can manifest as visible defects in the final finish. Bumps, uneven textures, or remnants of previous coatings left unaddressed can become more pronounced once the new coating is applied. These defects detract from the aesthetic appeal of the refinished surface, diminishing its overall quality and professional appearance.
Durability is another concern when imperfections are ignored during sanding. A surface that isn't properly smoothed out may be more prone to wear and tear, leading to premature deterioration of the coating. This compromises the longevity of the refinishing job, necessitating earlier touch-ups or repairs.
To achieve professional-quality results, it's crucial to address imperfections diligently during the sanding process. Properly preparing the surface ensures it is smooth, clean, and free from irregularities before applying the coating. This meticulous approach not only enhances the visual appeal of the refinished surface but also improves its durability and performance over time.
Skipping or rushing through sanding can lead to an uneven surface, poor adhesion of Ekopel, and a subpar final finish. This can result in fisheyes and prevent the material from adhering properly. Sanding removes invisible contaminants, soap scum, and smooths out imperfections, ensuring a solid base for the coating. Taking the time to sand thoroughly ensures a smooth, professional-quality result that is durable and visually appealing. Proper sanding is essential to avoid peeling, bubbling, and other defects that compromise the longevity and appearance of the refinished surface.
5. Conclusion
Choosing the right sanding techniques is crucial for achieving a successful epoxy tub refinishing project. Proper sanding not only ensures a smooth and even surface but also promotes strong adhesion of coatings like Ekopel, leading to a durable and professional-quality finish. By addressing imperfections, removing contaminants, and smoothing the surface thoroughly, you create a solid foundation for the coating application. Implementing these techniques is essential for anyone undertaking a bathtub refinishing project. Whether you're refinishing a bathtub, countertop, or other surfaces with Ekopel or similar coatings, taking the time to sand properly will pay off in the long run. It enhances the aesthetic appeal of the surface and improves its resilience against daily wear and tear. For those aiming for a flawless and lasting finish, integrating these sanding techniques into your refinishing process is key. They ensure that your efforts result in a surface that not only looks professionally done but also withstands the test of time with minimal maintenance.


