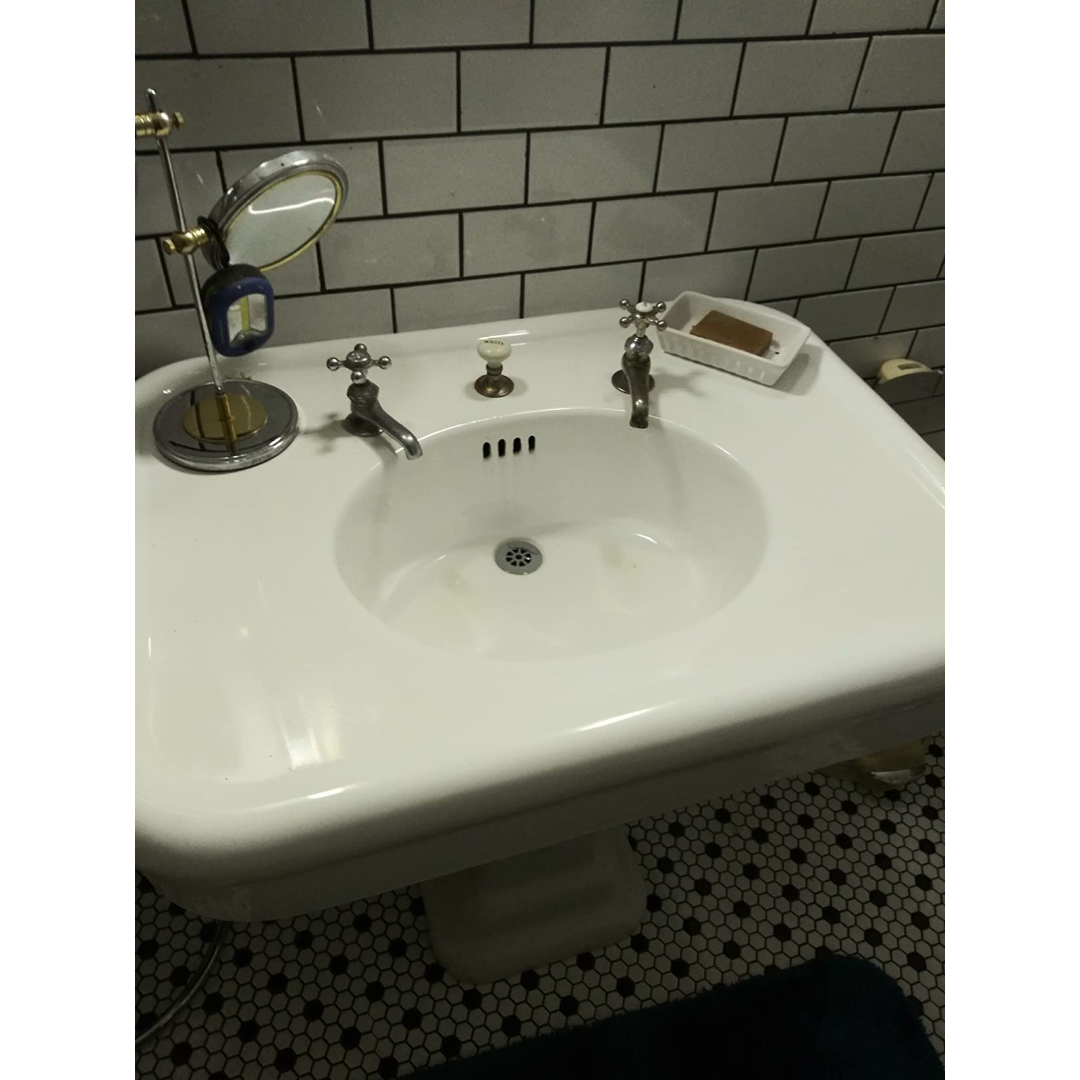
Refinishing your bathroom can transform outdated fixtures into modern, stylish elements. To achieve the best results with Ekopel or any other high-quality refinishing product, it’s crucial to thoroughly prepare your bathroom environment. Here’s a step-by-step guide to ensure your bathroom is ready for refinishing, focusing on preparing the entire room for a flawless finish.
1. Assess and Plan
Start by evaluating the condition of your bathroom. Identify which areas and surfaces need refinishing and create a plan for addressing them. This includes deciding whether you’ll be working on the tub, sink, tiles, or other fixtures. Proper planning helps streamline the process and ensures nothing is overlooked.
2. Gather Your Supplies
Ensure you have all necessary supplies ready:
- Ekopel Refinishing Kit (Roll on or Pour on)
- Cleaning Supplies: Lysol Toilet Bowl Power Cleaner, Sandpaper
- Masking Tape and Drop Cloths: To protect other areas from Ekopel
- Razor Blade: To ensure all old caulk and grime is removed
- Gloves: For personal protection
- Specifically for Roll-on: Paint tray, six 4 inch foam rollers
3. Prepare the Bathroom Environment
The right environment is essential for a successful refinishing project. Follow these steps to prepare your bathroom:
- Clean Every Surface: Start by cleaning all surfaces in the bathroom, including floors, walls, and any other non-target areas. Dust, hair, and debris can settle on wet surfaces and affect the finish. Use a vacuum to remove dust and a damp cloth to wipe down all surfaces.
- Control the Environment: Close the windows and keep the door shut during the refinishing process and drying time. This helps maintain a controlled environment and prevents dust and contaminants from entering the space.
- Keep Pets Out: Ensure that pets are kept out of the room during the refinishing process. Pet hair and dander can cause imperfections in the finish, so it’s best to keep animals away.
- Cover Non-Target Areas: Use drop cloths or plastic sheeting to cover areas that will not be refinished, such as floors, adjacent fixtures, and furniture. Secure the covers with masking tape to prevent them from shifting.
4. Remove or Mask Off Fixtures
If possible, remove any fixtures or hardware to protect from spills or drips. For items that cannot be removed, such as the drain, use masking tape and create a dam to protect from clogging.
5. Repair Surface Imperfections
Inspect the surfaces for any cracks, chips, or other imperfections. Use an all purpose Bondo to repair these areas and allow them to dry completely. Sand down any repaired areas to ensure a smooth, even surface.
6. Maintain Optimal Room Temperature
For the best results, maintain the bathroom at a consistent temperature during the refinishing process. The ideal temperature range is between 72°F and 78°F (22°C and 26°C). This temperature range ensures proper curing and adhesion of the refinishing product. Extreme temperatures can affect the application and drying times, leading to suboptimal results.
Preparing your bathroom for refinishing is a crucial step in achieving a high-quality, professional finish. By following these guidelines, you’ll ensure that every aspect of the environment is set up for success. From maintaining the right temperature to thoroughly cleaning and protecting your space, attention to detail will lead to outstanding results!


