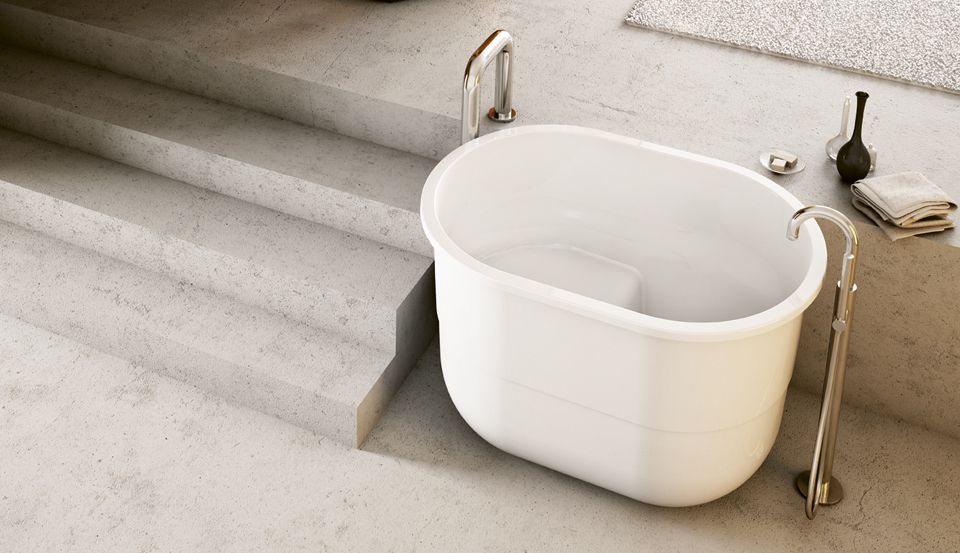
You may be considering hiring some professional to restore your bathtub, or you may be brave enough to try restoring it yourself. In either case, modern refinishing or reglazing can bring your bathtub back to an almost brand-new condition while helping to better protect it against mold, mildew, and other contaminants.
Refinishing, as opposed to projects that involve total removal and replacement, typically results in significant savings in both time and money. If you want to press forward with a bathroom renovation project such as this one, the following is a concise summary of what you may anticipate:
Set-Up
It is necessary to thoroughly prepare the area before beginning the process of resurfacing your bathtub. It is necessary to safeguard all the surfaces in the nearby region and take all the proper precautions to ensure safety. The most effective strategy for ensuring adequate ventilation is maintained to have an industrial fan pointed out of the aperture, have a window cracked, and run the exhaust fan in the bathroom.
Take off the caulking.
After that, take off the overflow plate that is located above the drain in the bathtub. Afterward, using a utility knife, scrape away all of the caulk that is in contact with the border. It is important to remember that if the caulk you are attempting to remove contains silicone, you will need to use a rubber digester to remove the silicone residue. Skipping any of these procedures throughout the tub reglazing process will result in an inferior finished product.
Scrub the Bathroom Tub
Before adding a new coat of finish to the bathtub, it is helpful to scrub the interior and exterior with some scouring powder and a pad first. It's possible that you'll find that eliminating soap scum successfully using a razor scrape is an excellent way as well.
It is important to ensure that the area beneath the soap dish is completely cleaned, as this is where bacteria can grow if water is allowed to collect there. During the process of reglazing a bathtub, the drainage area is the section of the tub that suffers the greatest damage, both in the form of cracks and chips, so it is essential to pay particular attention to this region.
Repair Damage
Before beginning the reglazing procedure, the surface of the bathtub must be totally smooth. Because of this, it is imperative that any chips, cracks, or other damage that may have appeared immediately be repaired. To accomplish this, the container's base is first covered in masking paper, and then a putty knife is used to spread filler over visible defects.
It is important to ensure that the filler is dry before commencing to sand. In order to achieve the outcomes that are wanted, it will be necessary to repeat this process multiple times.
The bathroom must be sanded.
The tub's surface needs to be sanded once it has been allowed sufficient time to dry out naturally. This can be done by hand or perhaps with an electric orbital sander with sandpaper with a grain of 120, depending on the desired approach. At this stage, you must always have a respirator on your face to be compliant.
After you have sanded the whole surface of the tub, use a wet paper towel to remove the grit and dust that has accumulated. When doing so, be sure to wipe in the opposite direction of the drainage toward the back of the bathtub. At the very end of the process, you will need to apply some finishing touches to the item using a varnish thinner or a finishing compound.
Apply some of the Masking Tape to the area.
Next, using masking tape, you'll want to protect the tile that surrounds the bathtub and the flooring nearby. Do this both inside and outside of the bathroom. Taping over the drain is another option for masking it; be sure to remove any leftover tape before applying the glaze so that it does not interfere with the process. If you choose to use this method, be sure to remove any leftover tape before applying the glaze. Taping over the drain is one of the solutions that can be utilized in order to conceal it. Droplets can throw a wrench into the process of refinishing your furniture. If you place a rubber glove or another barrier of a similar nature over the nozzle of the shower, you can prevent this from occurring. Other options include using a screen.
Apply the Product to the Bathtub to Reglaze It.
The surface of your bathtub will be prepared for the application of the glaze once steps one through six have been finished successfully.
The products that are used for refinishing bathtubs can be removed from the tub after they have been left there for a few hours. However, you should make every effort to avoid rushing through this process as much as possible because doing so may cause dust to accumulate on the surface of the tub if you do so. After a day has passed during which the bathtub was not used, apply an additional caulk to the area. After forty-eight hours, your container's overflow lid can be replaced.
Use Ekopel
Ekopel can be applied to almost any kind of bathtub substrate, including painted surfaces, cast iron, steel, ceramic, fiberglass, and fibreglass.
After applying Ekopel, was there a stain that was yellowish in appearance?
The product had yellowish streaks because it was not fully combined or for a sufficient amount of time, which contributed to the problem. Yellow is used for the spots because they will be on top when Part B floats to the surface. Baking soda as well as Mr. Clean magic eraser are a couple of the things that you could try in order to remove stains from clothing. That is the only thing we have tried that has effectively eliminated the yellow stains from the item.
You can also avoid having to pay to remove your old tub, which normally includes contacting a garbage removal firm to pick it up, transport it away, and dispose of it. This is something that you can avoid having to pay for if you replace your old tub with a new one. If you opt to reglaze your bathtub instead of purchasing a new one, the job will be finished in less time and will cost you less than purchasing a new one would have.


